Power Content Text Editor
In this article, I’ll explain everything that you need to know about working with the Power Content’s built-in text editor. Please note: The built-in text editor is TinyMCE that has been modified and armed with a lot of powerful features. I really recommend that you try using it even If you are accustomed to a different text editor, such as JCE. I worked with JCE for years, especially because of the media manager and the links manager, but the moment I created this one, I haven’t looked back. If you still prefer a different text editor, then you’ll need a plugin.
Let’s jump into getting familiar with the text editor:
As you can see, it’s pretty straightforward. Most of the buttons and features explain themselves. You can change text colors, define its tags (h1, h2, pre, p, div and more), draw tables, set up text decorations such as underline and italic, create lists, and basically do every “normal” thing that you will want your text editor to do.
Basic Improvements
There are a few “basic” improvements that have been done to the text editor, and a few “major” improvements. Let’s get familiar with the basic ones first:
- Shortcodes: This isn't an improvement, but I think that it is important to notify you about it. The editor supports Joomla shortcodes, such as {loadposition position1}, for putting modules inside articles.
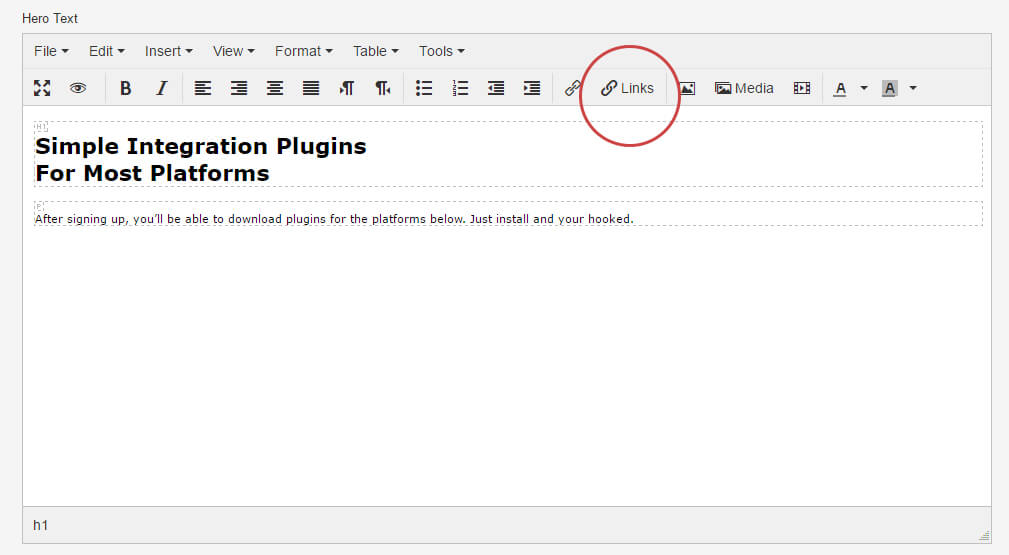
- Visual Aids & Blocks: As you can see in the images, your content is delineated in dotted borders; this allows you to easily understand the hierarchy of your text and prevent mistakes. You can turn this off by going to: View -> Visual aids / Show block.
- Pasting Formatted Text: When you paste text from Word, for instance, you will get it as plain text without formatting. That way, your clients won’t ruin the structure of your website by accidentally pasting HTML code from word documents. Paste from Word without fear! If, however, you want to paste formatted text by purpose, simply go to: Tools -> Source Code and paste it there. Click OK when done.
- Code Is Allowed: By going to: Tools -> Source Code, you can insert HTML, PHP, CSS, and JS code directly and this will have its effect in the frontend. You can also just write your code in the editor, but it's a bit messy. I recommend using the source code button.
- Code Samples: There's a small button to the left, below the "edit" menu item. Clicking this will allow you to display code samples in your frontend just like I display much of them here in this documentation. Just note that it won't have any special syntax highlighting. The syntax highlighter is a third party (and heavy—thus the reason it is not an included built-in) plugin that you can find here: http://prismjs.com/download.html
- Full Page & Preview: You have two buttons on the left; one will expand the editor to spread across the entire page for easier editing and the second will provide a simple preview of how your content is formatted and structured.
- Cleaner UI With Better UX: As you may have noticed, the text editor is much cleaner and better formatted than the default, but still offers all the features and much more. This provides a better user experience.
Major Improvements
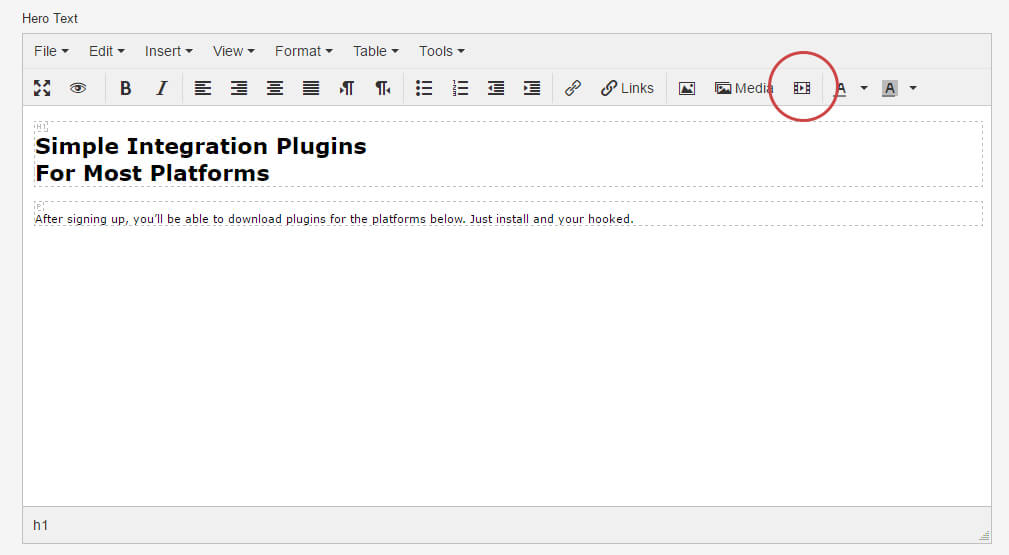
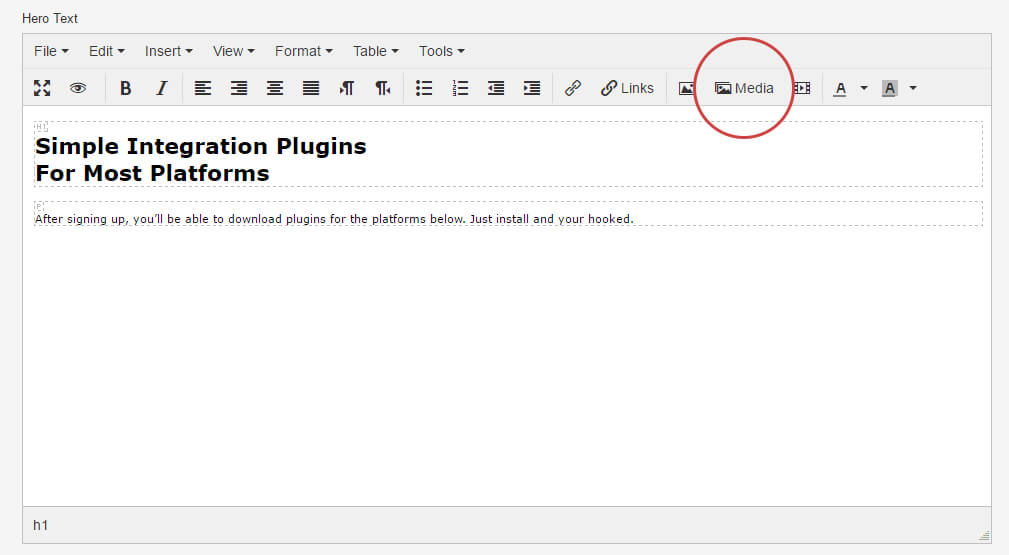
There are three major improvements that have been done to the text editor: Links Manager, Media Manager, and Embedded iframes and videos manager:
Iframes and Videos Manager: This button allows you to embed iframes in general and of course videos like YouTube or Vimeo. Those will show up right inside your editor.
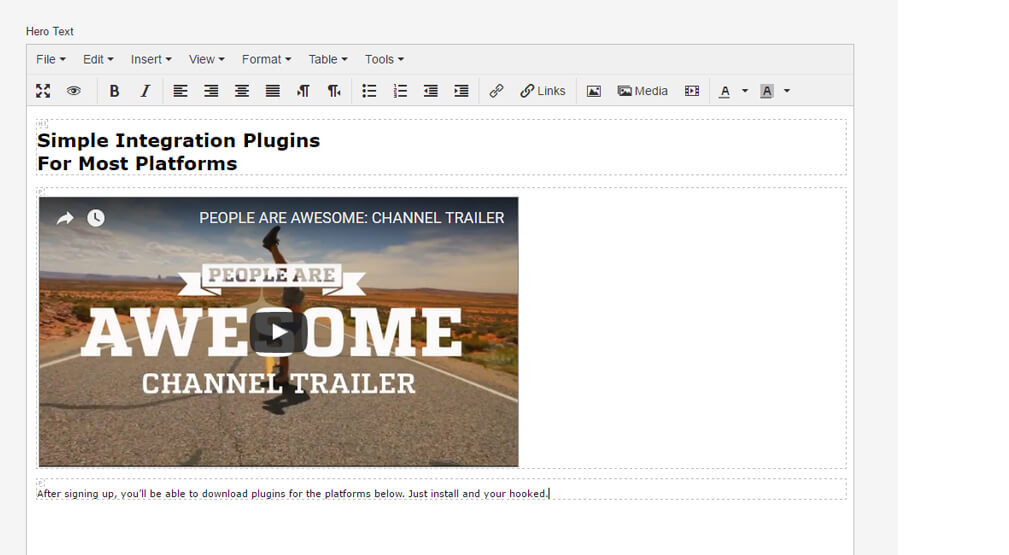
Media Manager: This button allows integration between Power Content’s powerful media manager and the text editor. By clicking this button, you will have all of the features of the media manager (tons of features and truly awesome). Clicking an image twice will insert it into the editor. After that, you will be able to insert alternate text (alt) and other attributes to the image.

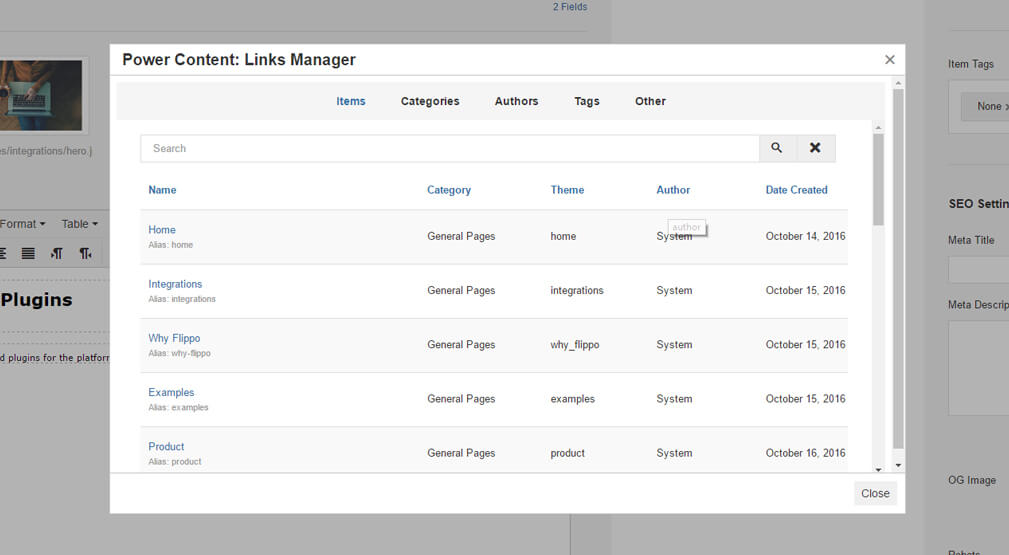
Links Manager: One of the most powerful features - by highlighting any text in the editor and clicking this button, a popup with all the items, categories, menu items, authors, and tags you have on your website will appear, allowing you to click on one of them and automatically link to it. After that, you will be able to insert attributes to this link, such as: open in a new window, title, and more. The big improvement here is that this links manager is completely integrated with Power Content’s router, thus providing you with the exact URLs and no duplicated pages or 404 mistakes.