Power Content Built-In Modules
Power Content has 10 built-in modules that come with the installation. Three of them are admin modules that show statistics and quick actions, and seven of them are site modules to display data from Power Content wherever you like.
Note that I won’t be talking about the search module in this article. It is explained in detail at the “Power Content Search Engine” part of the documentation.
Very Important: The default data that you will see as default with those modules are simply what I thought is a must for each type of module. BUT you have A LOT of additional data available for you, in any of the modules. And you can actually SEE and ACCESS this data easily, even if you’re not a developer using the built-in Power Debugger Plugin. This is very important because you have almost unlimited options with Power Content, but if you don’t know how to access the data (which is extremely easy), you will miss out on this awesome power.
Topics that will be covered in this article:
- Overriding Power Content Modules
- Power Content Admin Modules
- Breadcrumbs Module
- Comments Modules
- Items Module
- Categories Module
- Authors Module
- Tags Module
Overriding Power Content Modules
Just like any other modules in Joomla, Power Content modules can also be overridden by making an “Alternative Layout”. This is a basic Joomla feature so I hope that you are already familiar with this; if you are not, don’t worry, I’m going to explain this right now. You can (and should) also check out Joomla’s documentation regarding this awesome feature here: https://docs.joomla.org/How_to_override_the_output_from_the_Joomla!_core
In the example, I’ll use the Power Content Search module. In order to override a module’s layout, we will go to the “Advanced” tab inside the module. The first option you will see there is “Alternative Layout”. What this does is basically search for files other than “default.php” in the module tmpl folder and in your template. In order to create our own custom layout, copy the “default.php” file from the module; you can find it here:
root/modules/mod_epc_search/tmpl/default.php
Place it in the following structure:
root/templates/yourtemplate/html/mod_epc_search/default.php
If you keep the file name, “default.php”, this will be the layout loaded for the module. You can also rename it and even make several different layouts under the same folder. Note that it will work only if you named your files in the following format: myCustomFileName.php OR mycustomfilename.php . Underscores “_” will not work, but hyphens may work - I didn’t check. (Don’t ask me, ask Joomla. :) ) Then, go back to the “Alternative Layout” option in the module and simply select the layout you have just created.
Important: Basically, you can change whatever you want, the HTML elements and their classes, the CSS and everything else. However, keep a few things in mind:
- There are several “data-attributes” to the elements, such as the form tag, the search input, and the live results UL container. If you remove those data-attributes, live search will stop working.
- This is mainly for developers: The JavaScript that is responsible for the live search is right there in the layout. The reason for that, is that I wanted you to be able (if you want) to override some of it. The reason you may ever want to do this is if you want a different behavior (animations and stuff) or to display additional data in the live search. I’ll explain the possibilities in the next section.
The search module is the only one for which you should worry about its data-attributes, since it’s the only module that is using JavaScript (for its live search feature).
Power Content Admin Modules
There are three built-in admin modules that come with Power Content:
Power Content Quick Actions
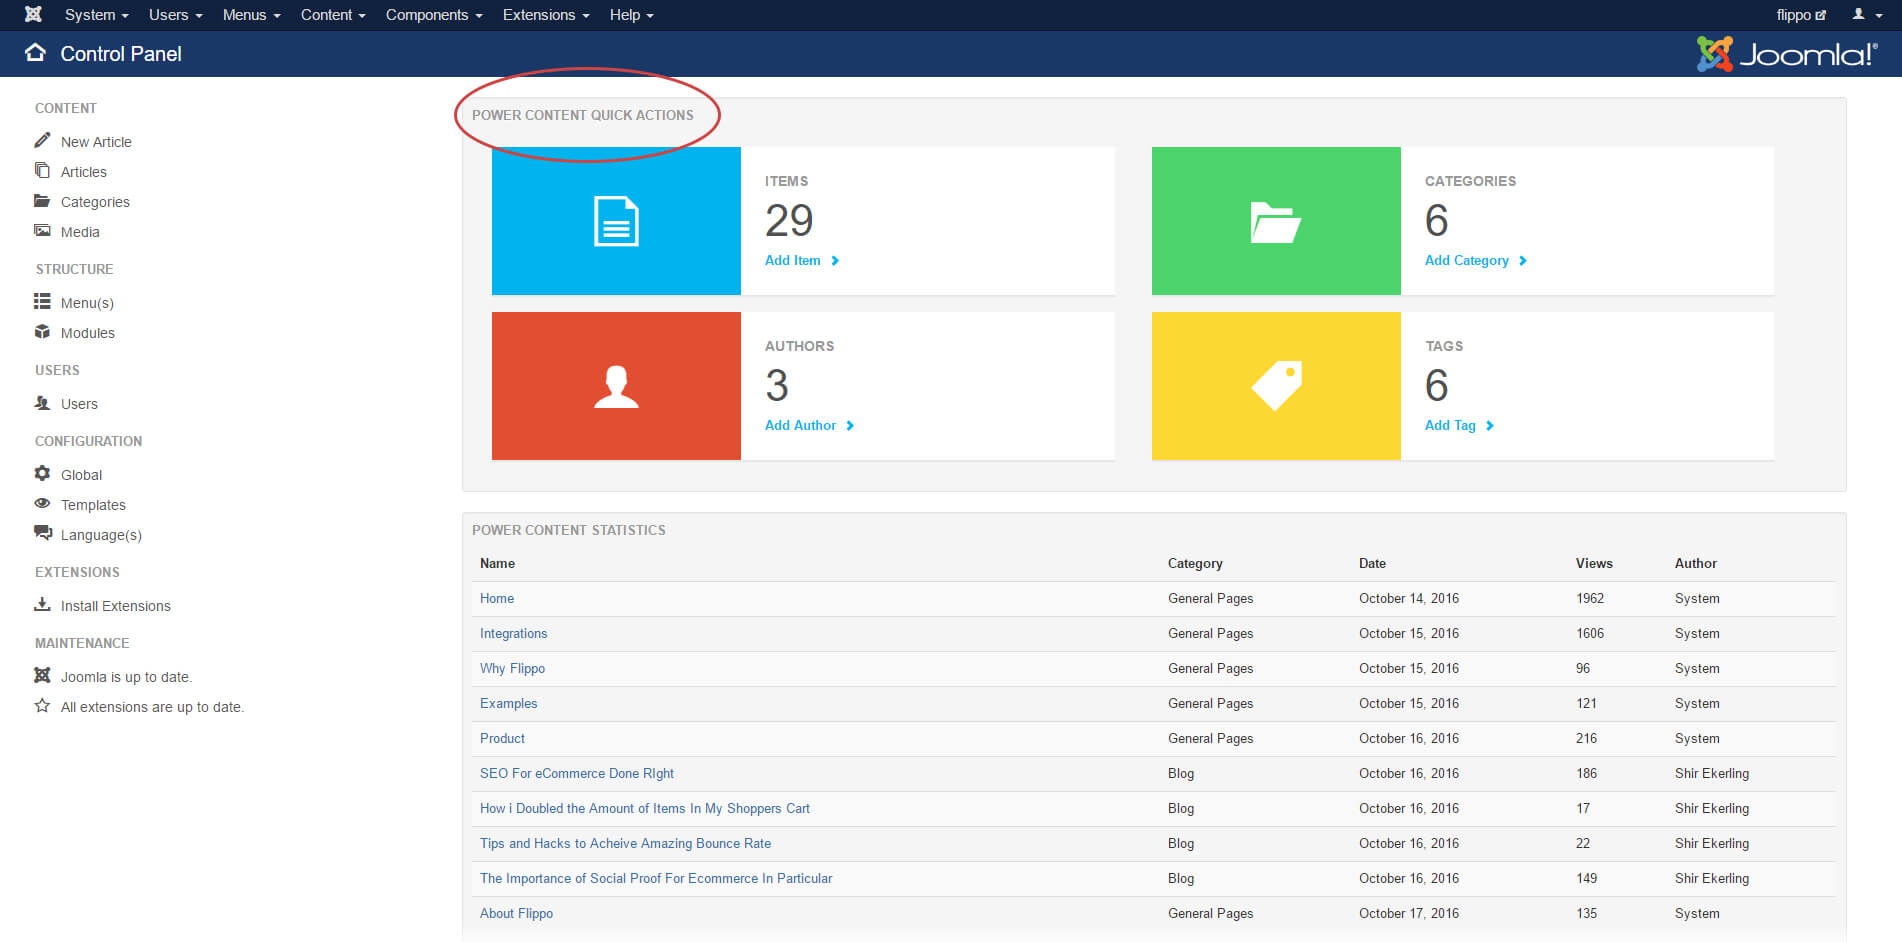
As you can see in the picture above, this module shows statistics about your website’s content. It also features an “Add New” blue button for each of them, for adding a new record quickly. In addition, clicking the big colorized icons to the left will take you directly to the right view (Items, Categories, Authors, or Tags).
Power Content Statistics
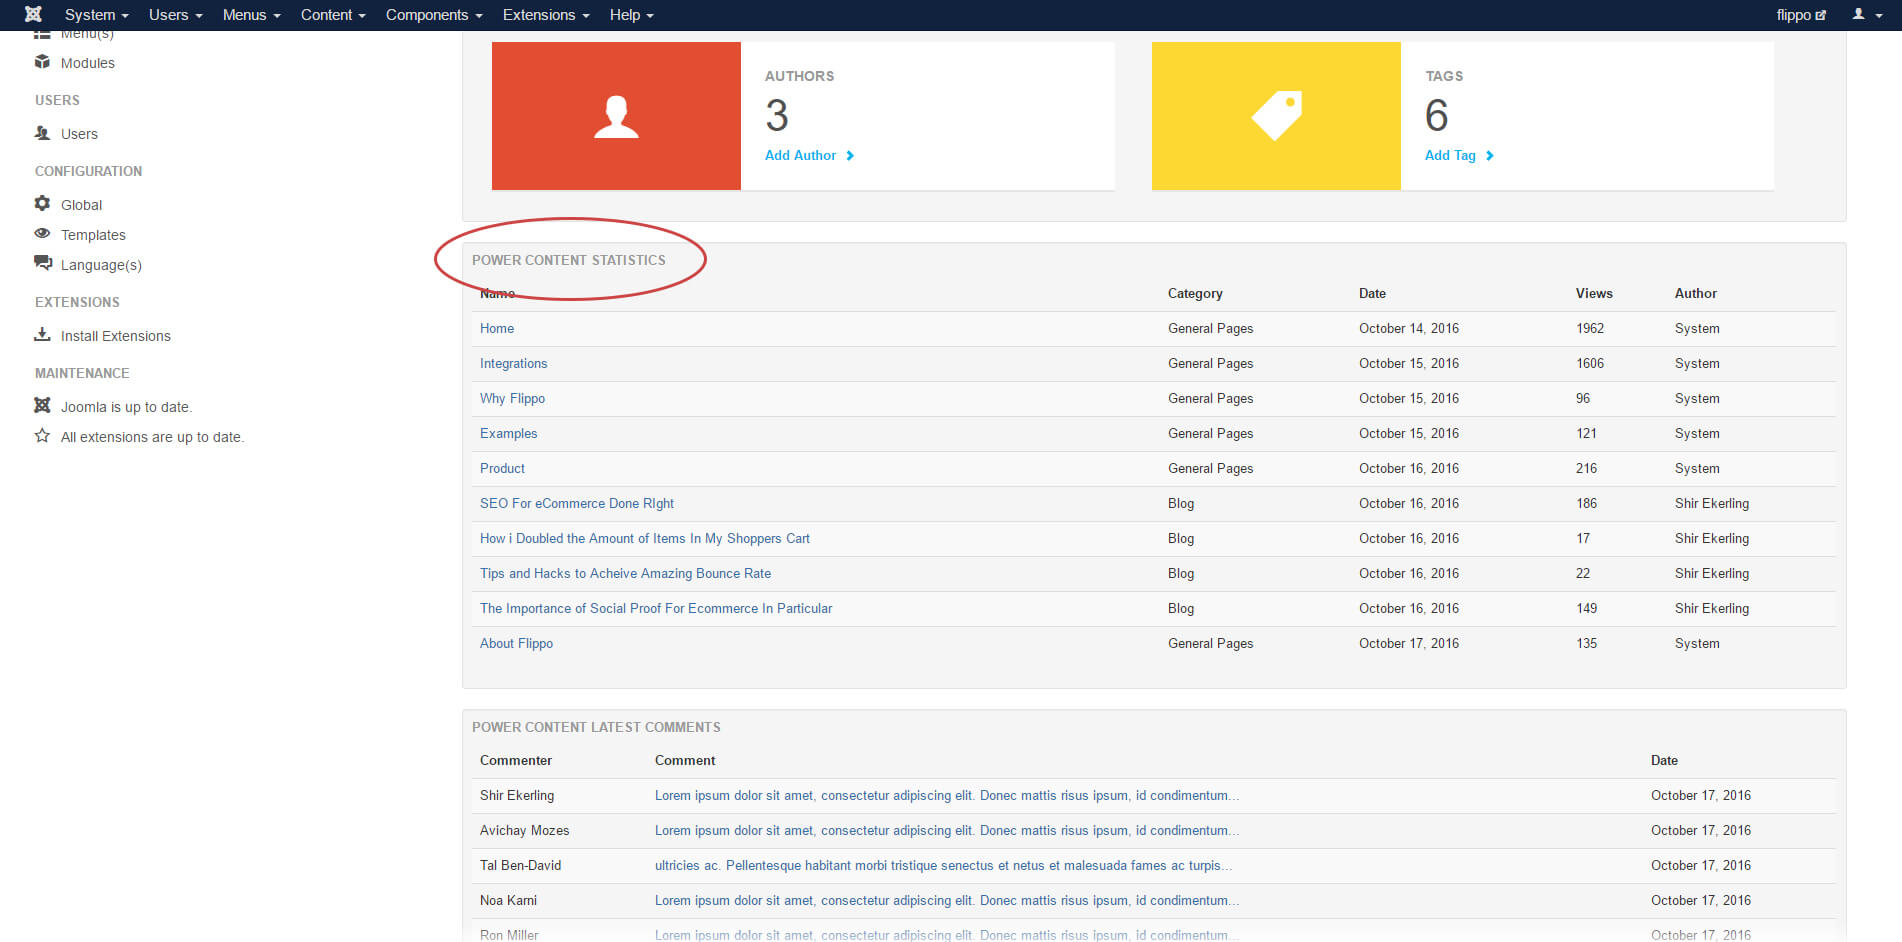
This module is displayed below the quick actions in your Joomla dashboard and is providing statistics about your latest items. You can see that it shows you the items, their category, date created, views, and their author. Clicking the item name will take you to its editing page.
Power Content Latest Comments
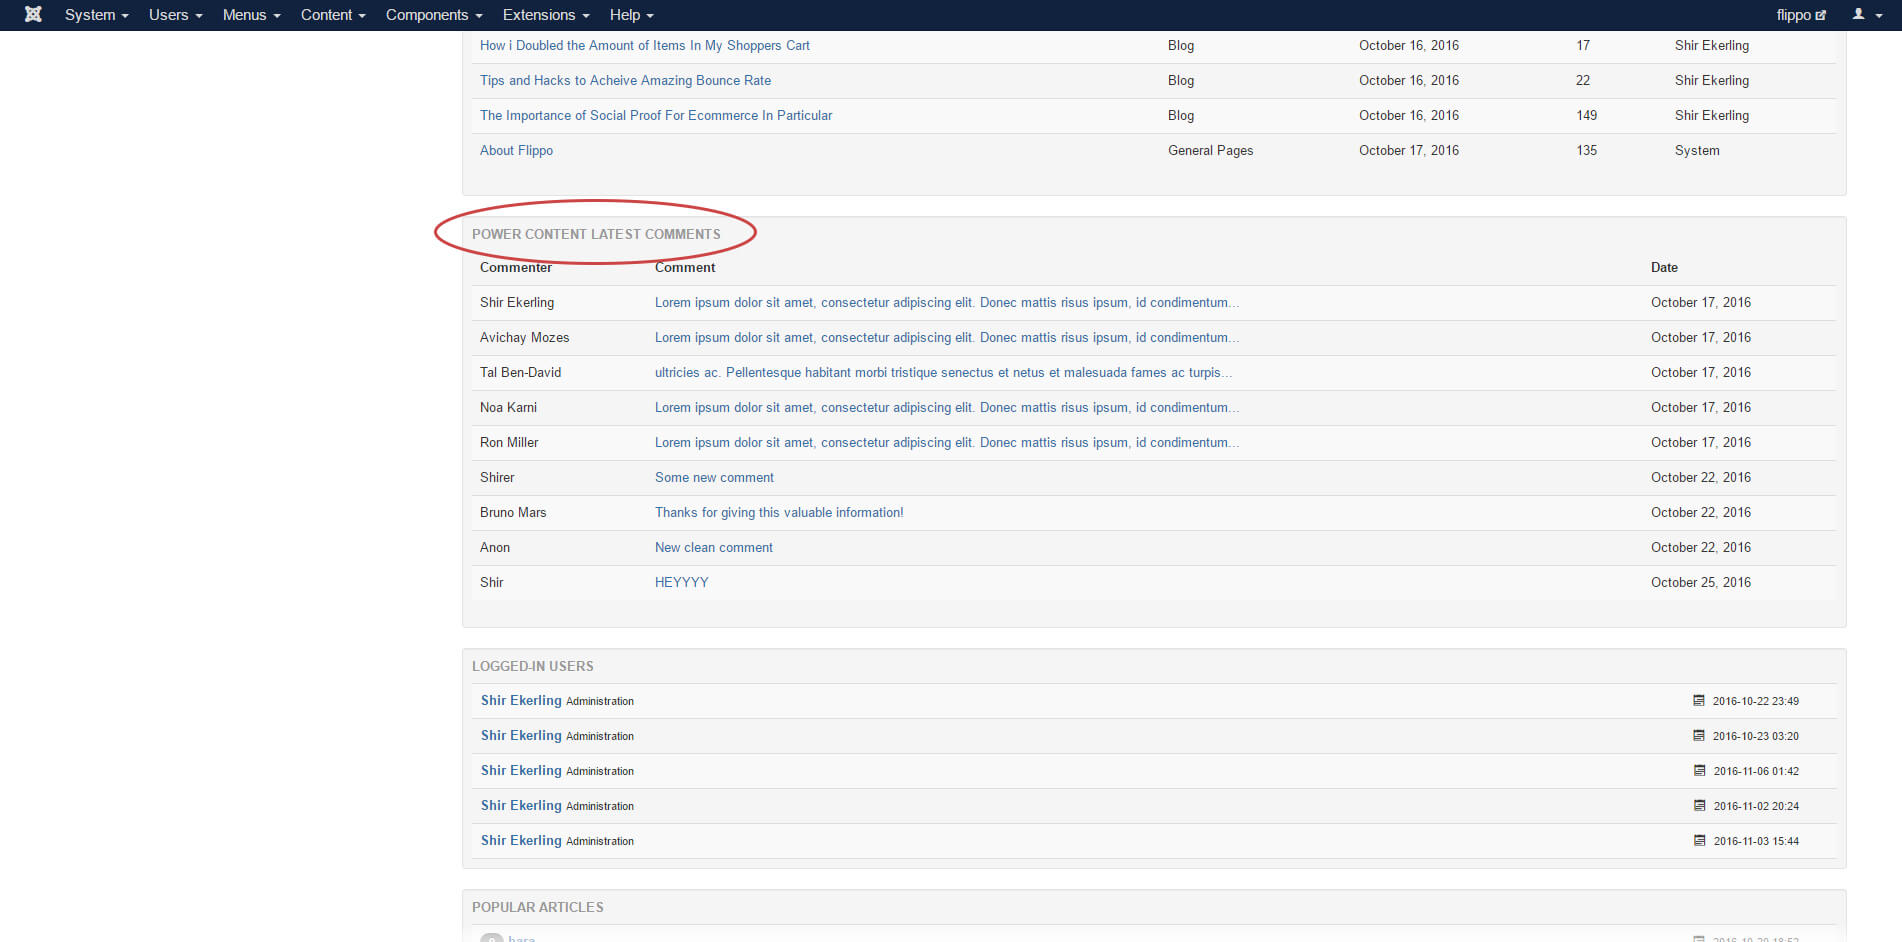
This module is displayed below the statistics module, and is showing you a list of the latest comments published on your site. Clicking the comment will take you to its editing page.
Power Content Breadcrumbs Module
This module is used to display breadcrumbs at your website. It will automatically consider your menu items so don’t worry about that.
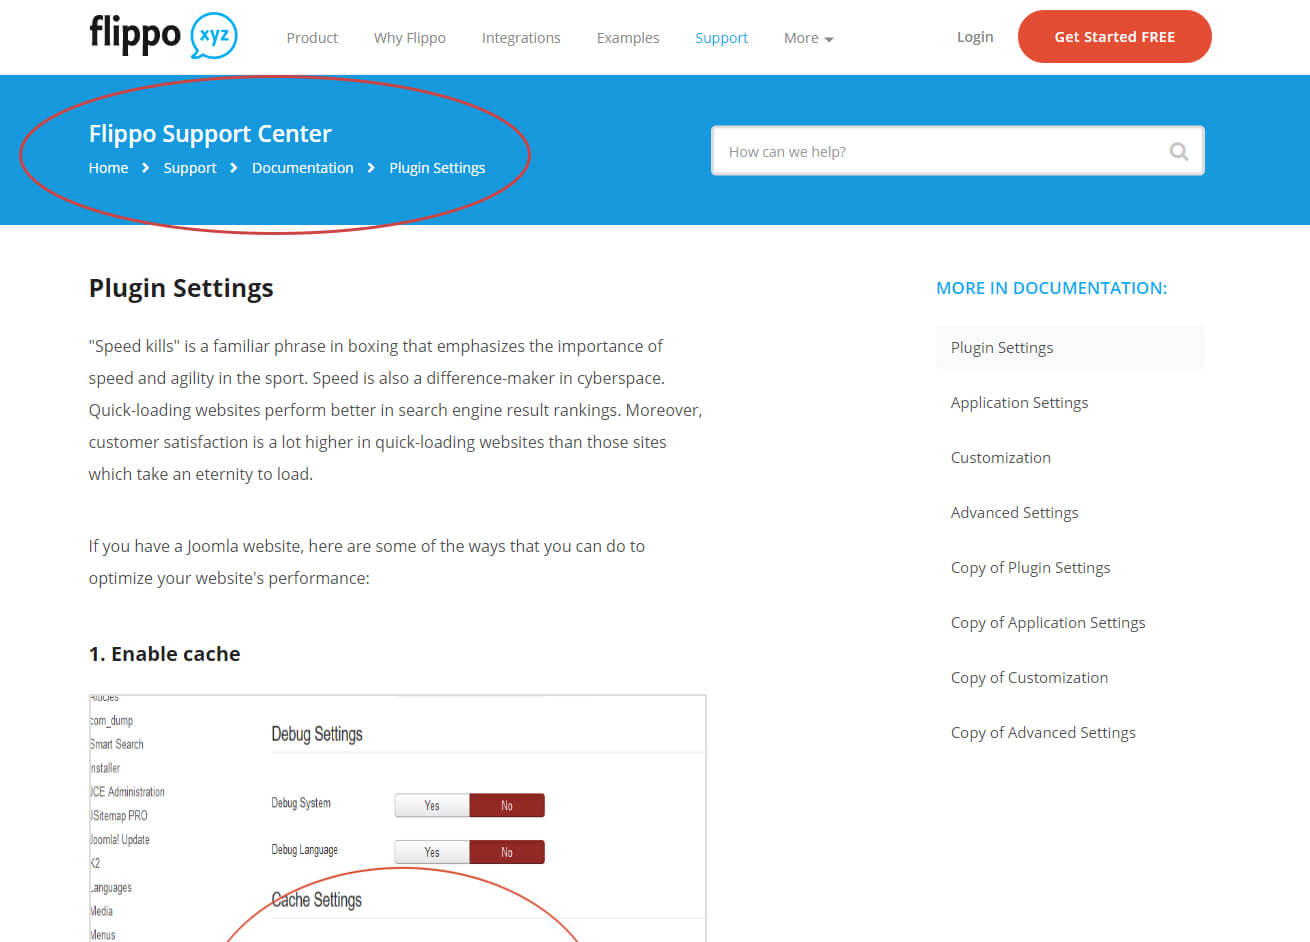
There’s nothing special to say about this module. The only option you may need to change is “Load Module CSS” in the modules manager. Loading the CSS will structure the breadcrumbs a little bit; if you don’t load the CSS, you or your template should handle its CSS.
Power Content Comments Module
Power Content’s Comments Module allows you to show a list of the latest comments from items, by categories, anywhere on your website.
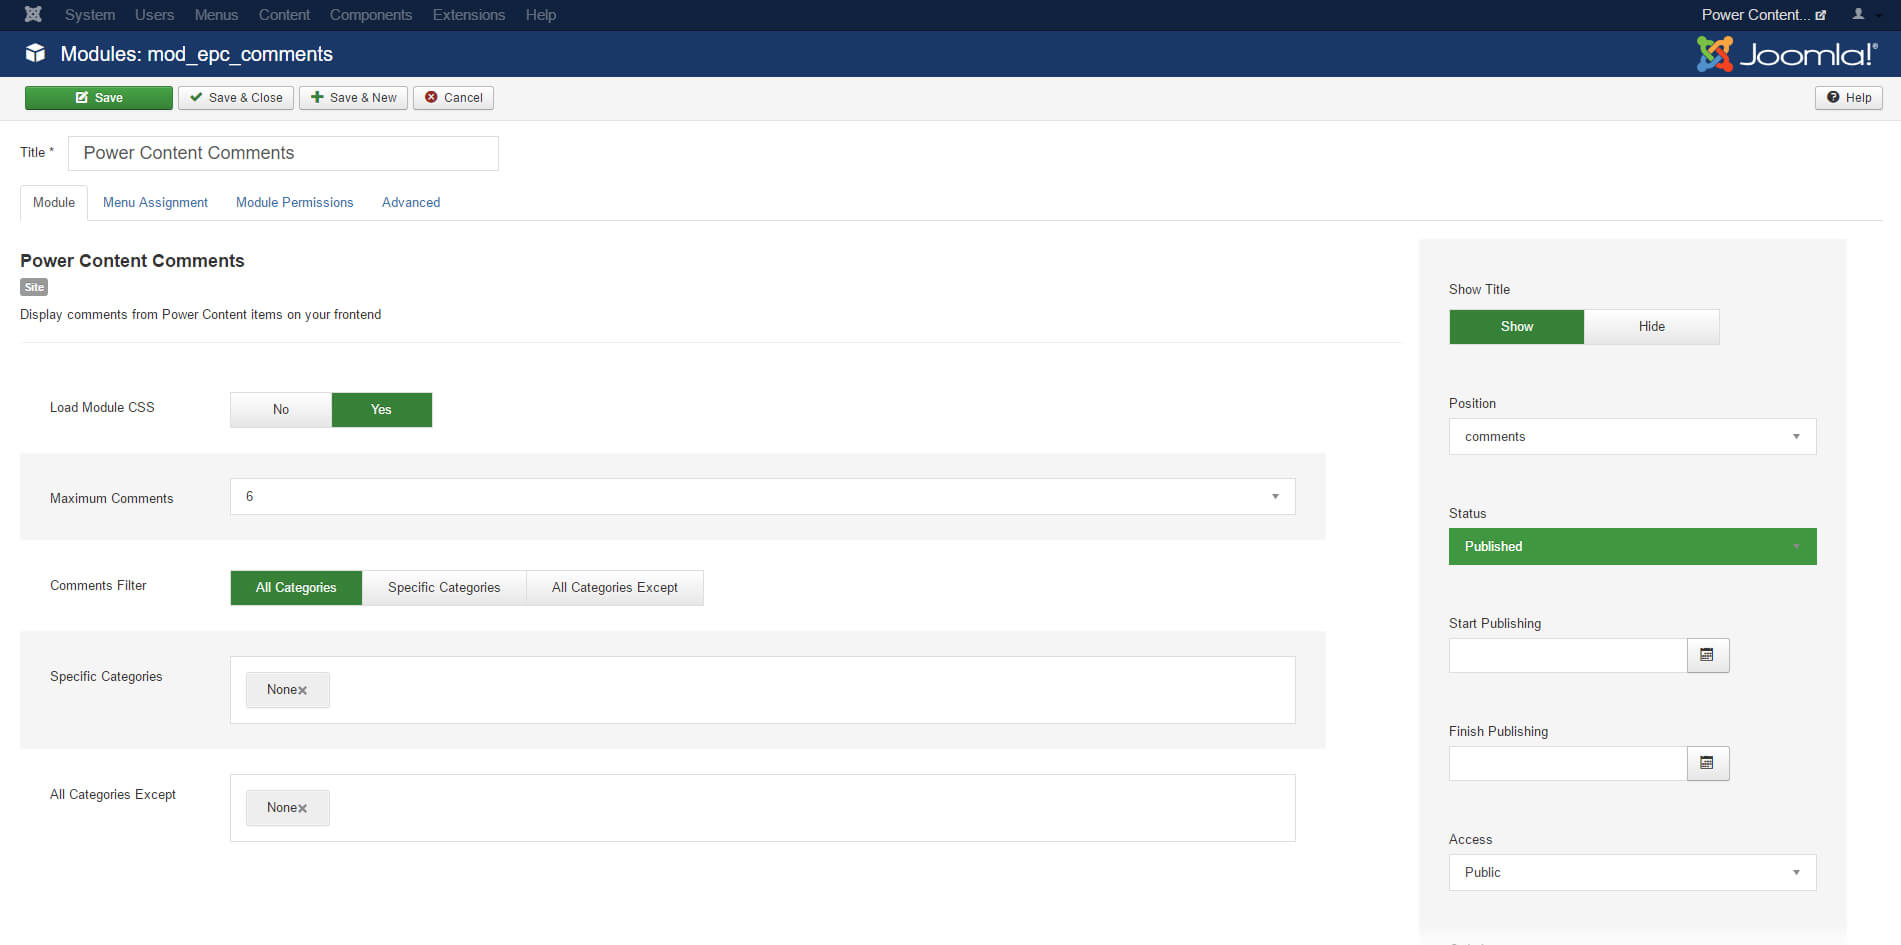
As you can see in the image, there are several options for you in the module:
Load CSS – The module’s CSS bring a little bit of order to the comments display. It doesn’t intend to design the comments, just to structure it.
Maximum Comments – The limitation of the number of comments to display.
Comments Filter – You can choose where the module takes comments from. “All Categories” will not provide any filter and will simply take the latest comments from your entire website. The “Specific Categories” filter will let you choose specific categories of items to take comments from. The “All Categories Except” filter will take the comments from items of all categories except for the categories you choose here.
Specific Categories and All Categories Except – Explained above, these fields are multi-select so you can choose as many as you like.
Power Content Items Module
The Power Content Items Module lets you show items all across your website. It has a lot of different displaying, filtering, and ordering options so it’s very powerful.
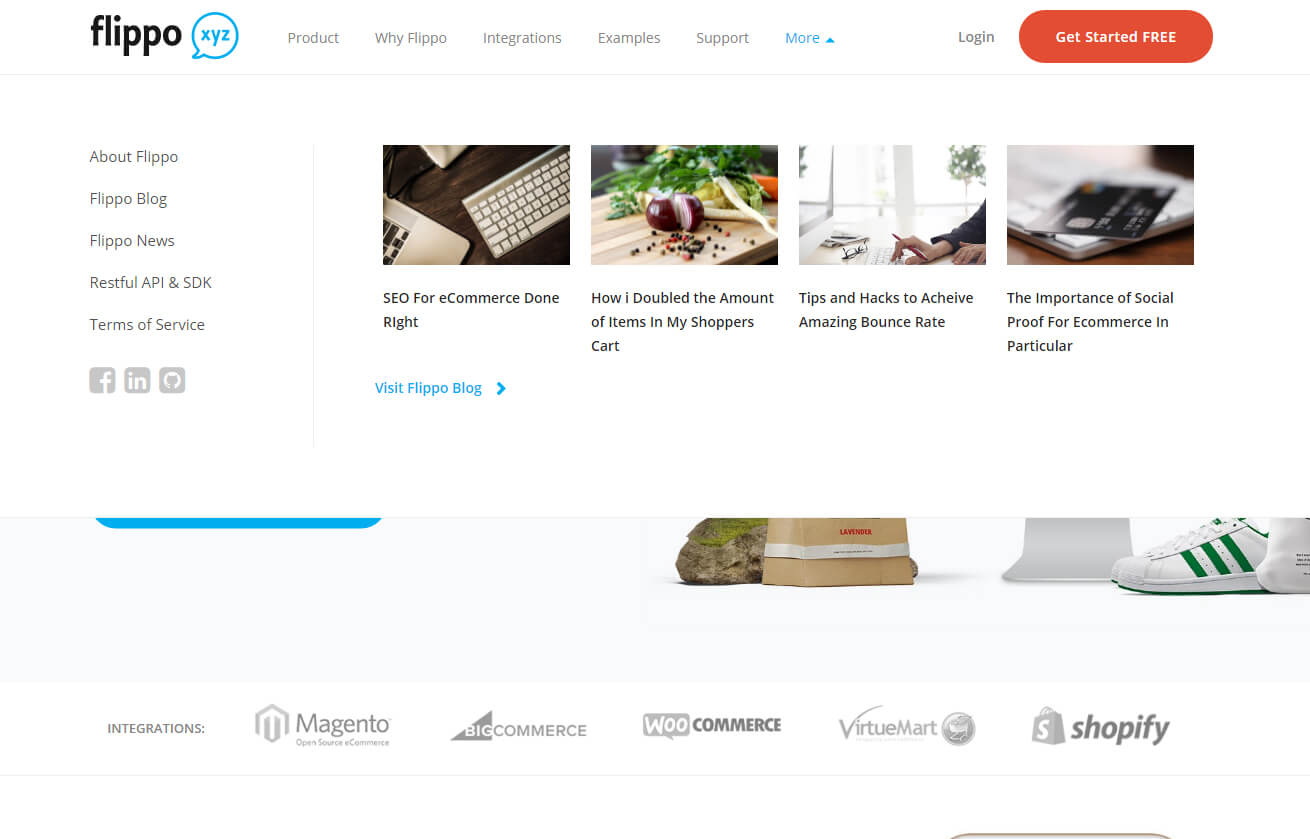
As you can see in the image above, I’m using this module to display latest four items from our blog, in the drop down mega menu.
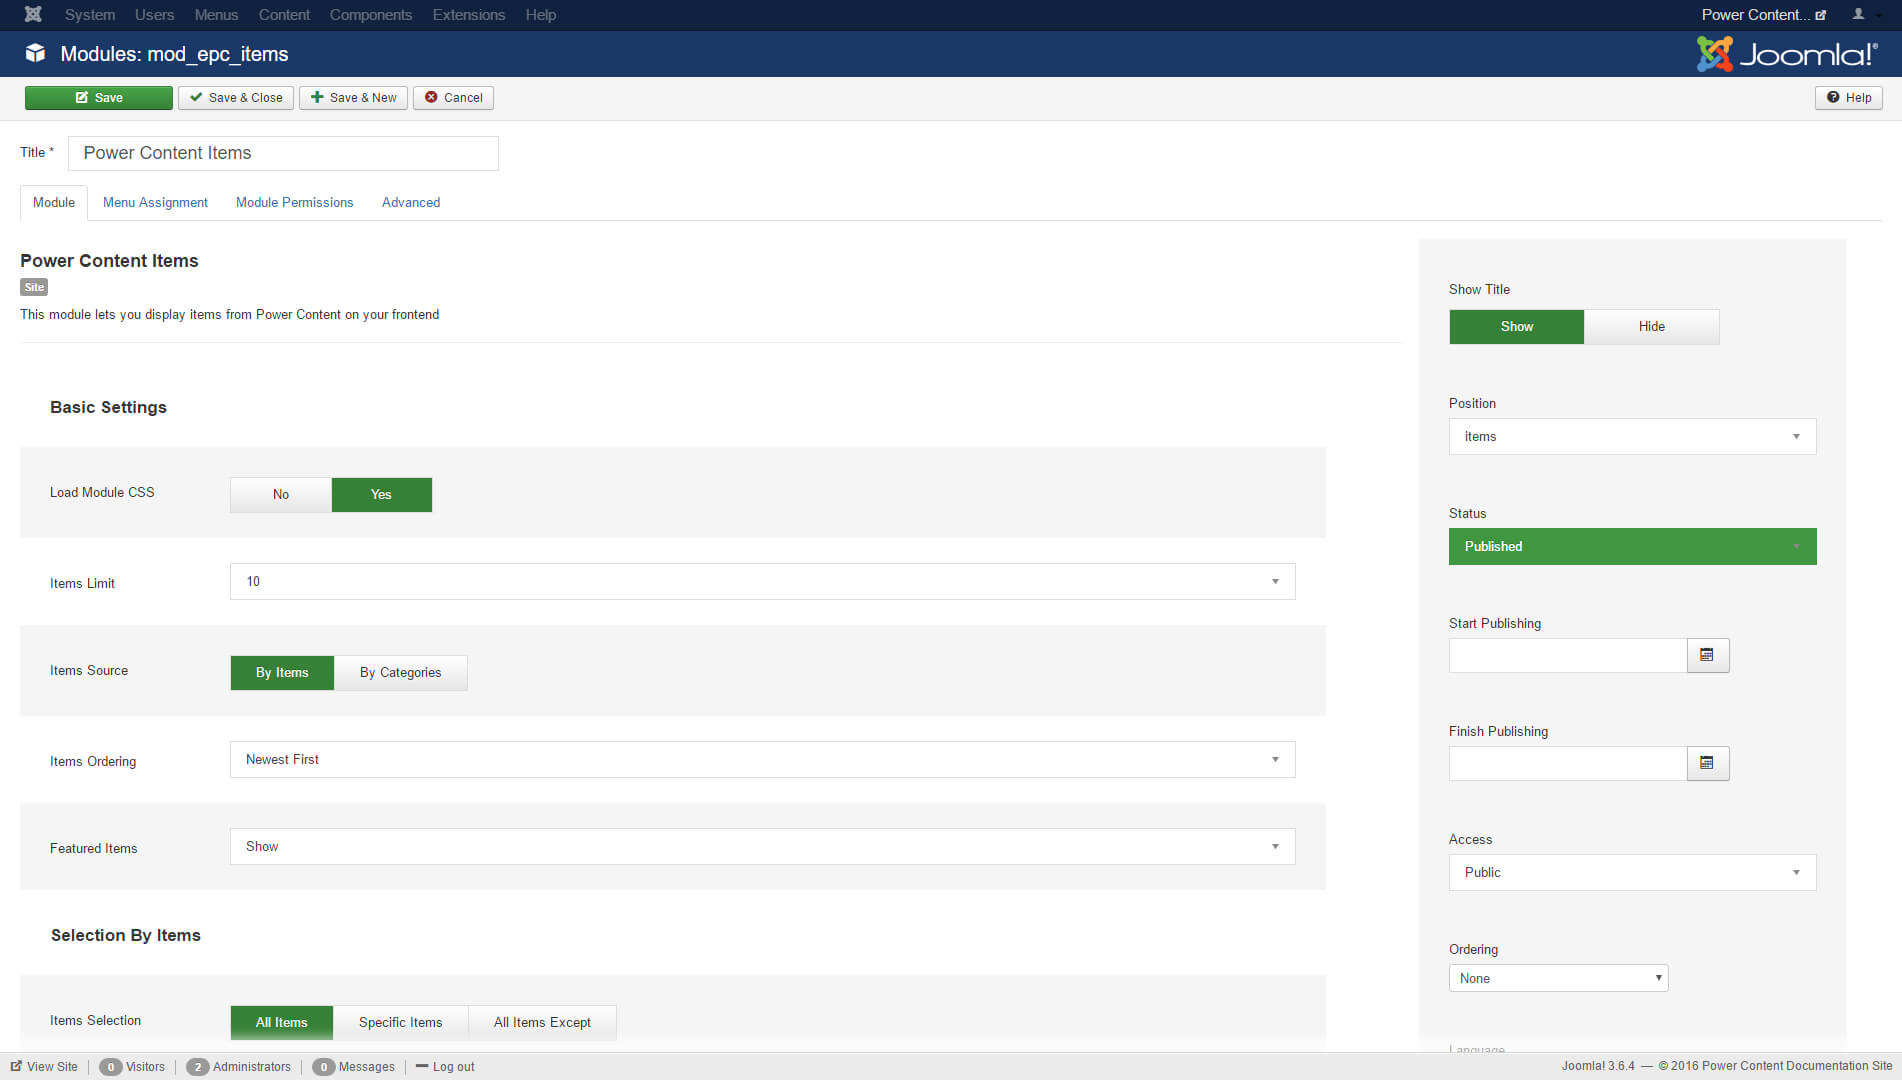
Take a look at the image above. This is the settings of the items module. Let’s explain all those different settings:
Load Module CSS – The module’s CSS bring a little bit of order to the items display. It doesn’t intend to design the comments, just to structure it.
Items Limit – This option lets you set a limit to the number of items displayed.
Items Source – You can choose if you want to show items by items, or by their category. This option works with all the filters below, which I’ll explain in a few minutes.
Items Ordering – You can choose the ordering of your displayed items. Available orders are: Newest first, Oldest first, Most popular, Category order (the order of the categories), Custom order (the order of the items inside a category), ID ordering, and Random ordering.
Featured Items – You can choose if featured items are simply shown regularly, if they are hidden, if they are shown first, or if you want to show only featured items.
Selection by Items
If you have choose “By Items” in the “Items Source” option, those selections will be applied.
Items Selection – This field allows you to filter the items that you wish to display: “All Items” will not provide any filter and will just display the items according to the limit and order you have set. “Specific Items” will allow you to choose specific items and “All Items Except” will just bring all the items except for the ones you choose.
Specific Items and All Items Except – Explained above, these fields are multi-select fields so you can choose as many options as you like.
Selection By Categories
Categories Selection – You can choose to have the module display items by their category. “All Categories” will not provide any filter and will simply take all of the items from all of the categories according to your order and limit. The “Specific Categories” filter will let you choose specific categories of items to take. The “All Categories Except" filter will take the items from all categories except for the categories you choose here.
Specific Categories and All Categories Except – Explained above, these fields are multi-select so you can choose as many as you like.
Power Content Categories Module
The Power Content Categories Module allows you to display categories from Power Content wherever you want on your website, with filters and ordering.

As you can see in the image above, I’m using this module to display five of my support categories in my website, with their Content Fields (icon and explanation text).
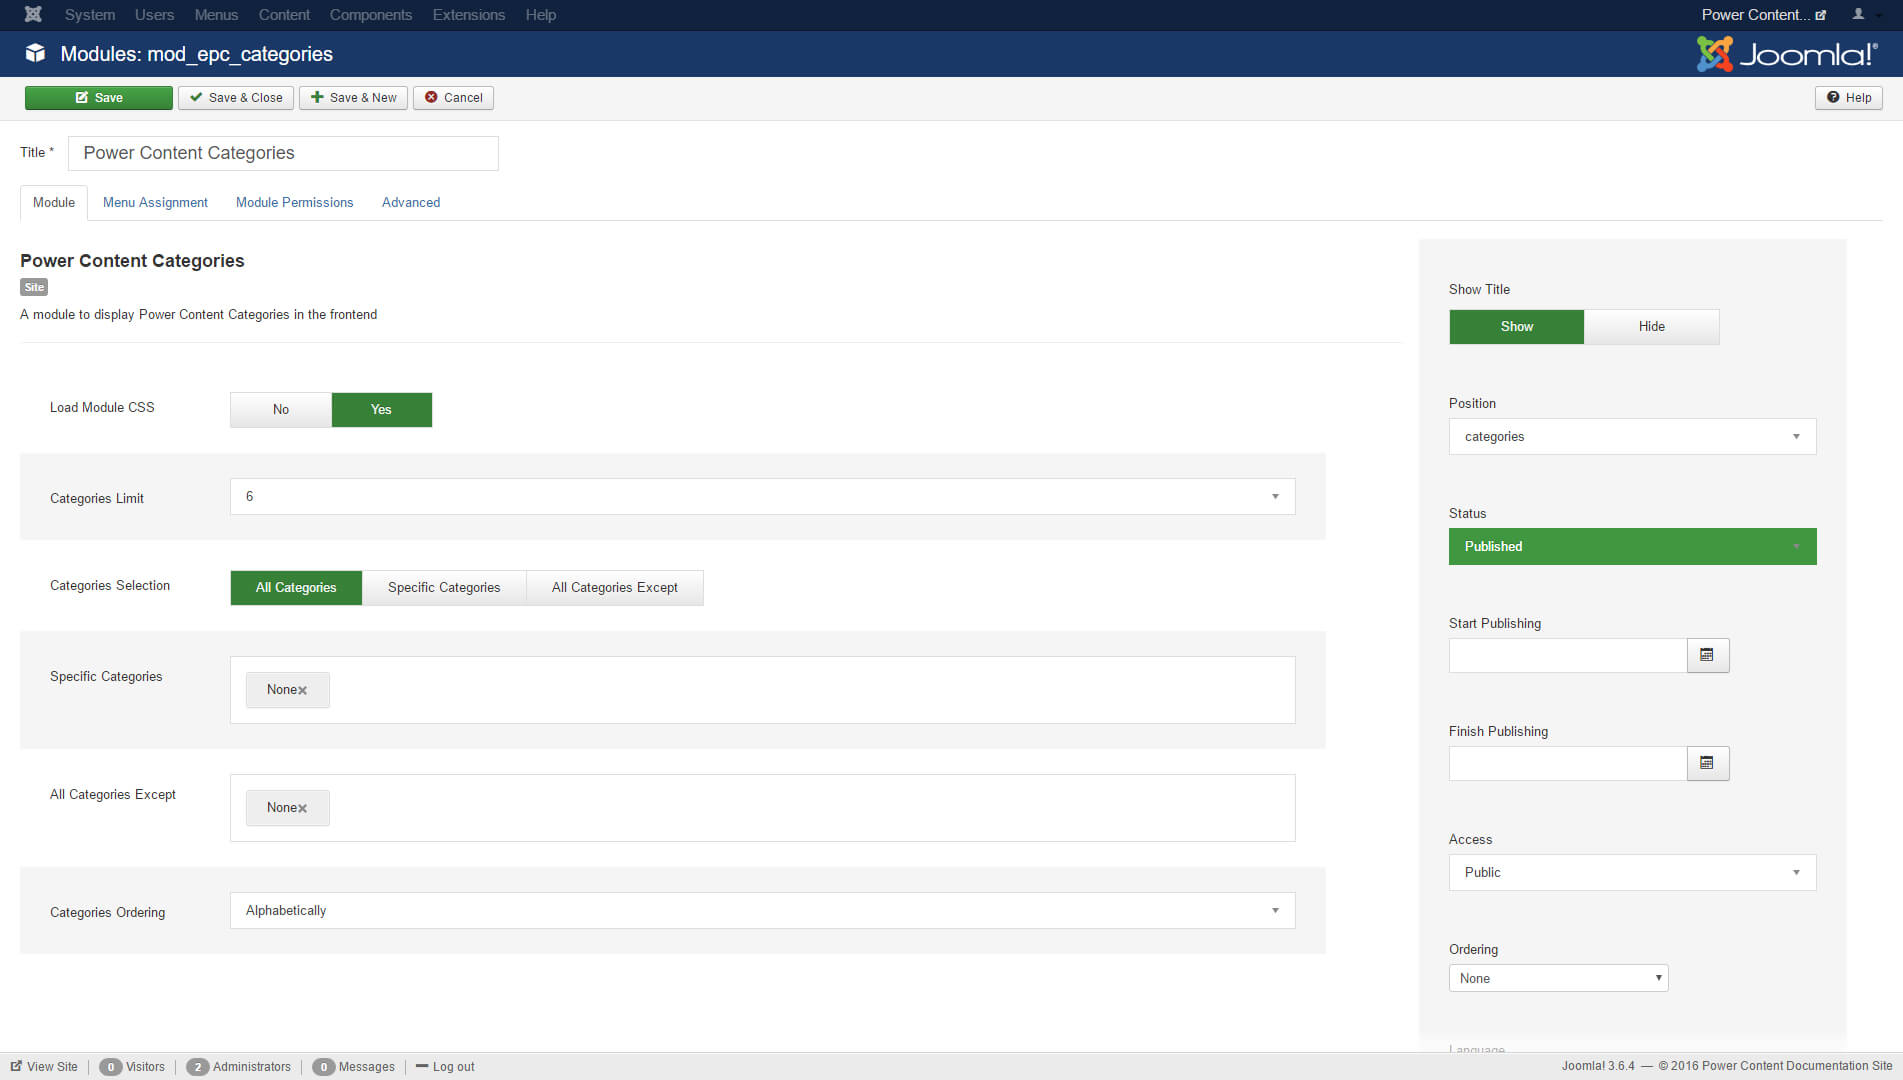
In the image above, you can see the options available for you in this module. Let’s explain those options:
Load CSS – The module’s CSS brings a little bit of order to the categories display. It doesn’t intend to design the authors, just to structure it.
Maximum Categories - The limitation numbers of the categories to display.
Categories Selection – This field allows you to filter the categories that you wish to display: “All Categories” will not provide any filter and will just display the categories according to the limit and order you have set. “Specific Categories” will allow you to choose specific categories, and “All Categories Except” will just bring all the categories except for the ones you choose.
Specific Categories and All Categories Except – Explained above, these fields are multi-select fields so you can choose as many options as you like.
Categories Ordering – This field allows you to choose the ordering of the categories: Alphabetically, Most Recent Item, Most Items, ID, Random Order, and Categories Order (the order you can manually set to categories from the categories view).
Power Content Authors Module
This module allows you to showcase your authors, anywhere on your site. It also provides filtering and ordering for authors.

In the image above, you can see that I’m using this module to display two of the website’s authors (who are also the management of the company, me and my business partner), as well as their name, image, text, position, and LinkedIn links, which are Content Fields.
This module has several options for your usage:
Load CSS – The module’s CSS bring a little bit of order to the author display. It doesn’t intend to design the authors, just to structure it.
Maximum Authors - The limitation of the number of authors to display.
Authors Selection – This field allows you to filter the authors that you wish to display: “All Authors” will not provide any filter and will just display the authors according to the limit and order you have set. “Specific Authors” will allow you to choose specific authors, and “All Authors Except” will just bring all the authors except for the ones you choose.
Specific Authors and All Authors Except – Explained above, these fields are multi-select fields so you can choose as many options as you like.
Authors Ordering – This field allows you to choose the ordering of the authors: Alphabetically, Most Recent Item, Most Items, and Random Order.
Power Content Tags Module
The Power Content Tags Module is a very simple module that allows you to display tags and link to those tags pages, all across your website. It also provides filters for the tags to display, and their order.
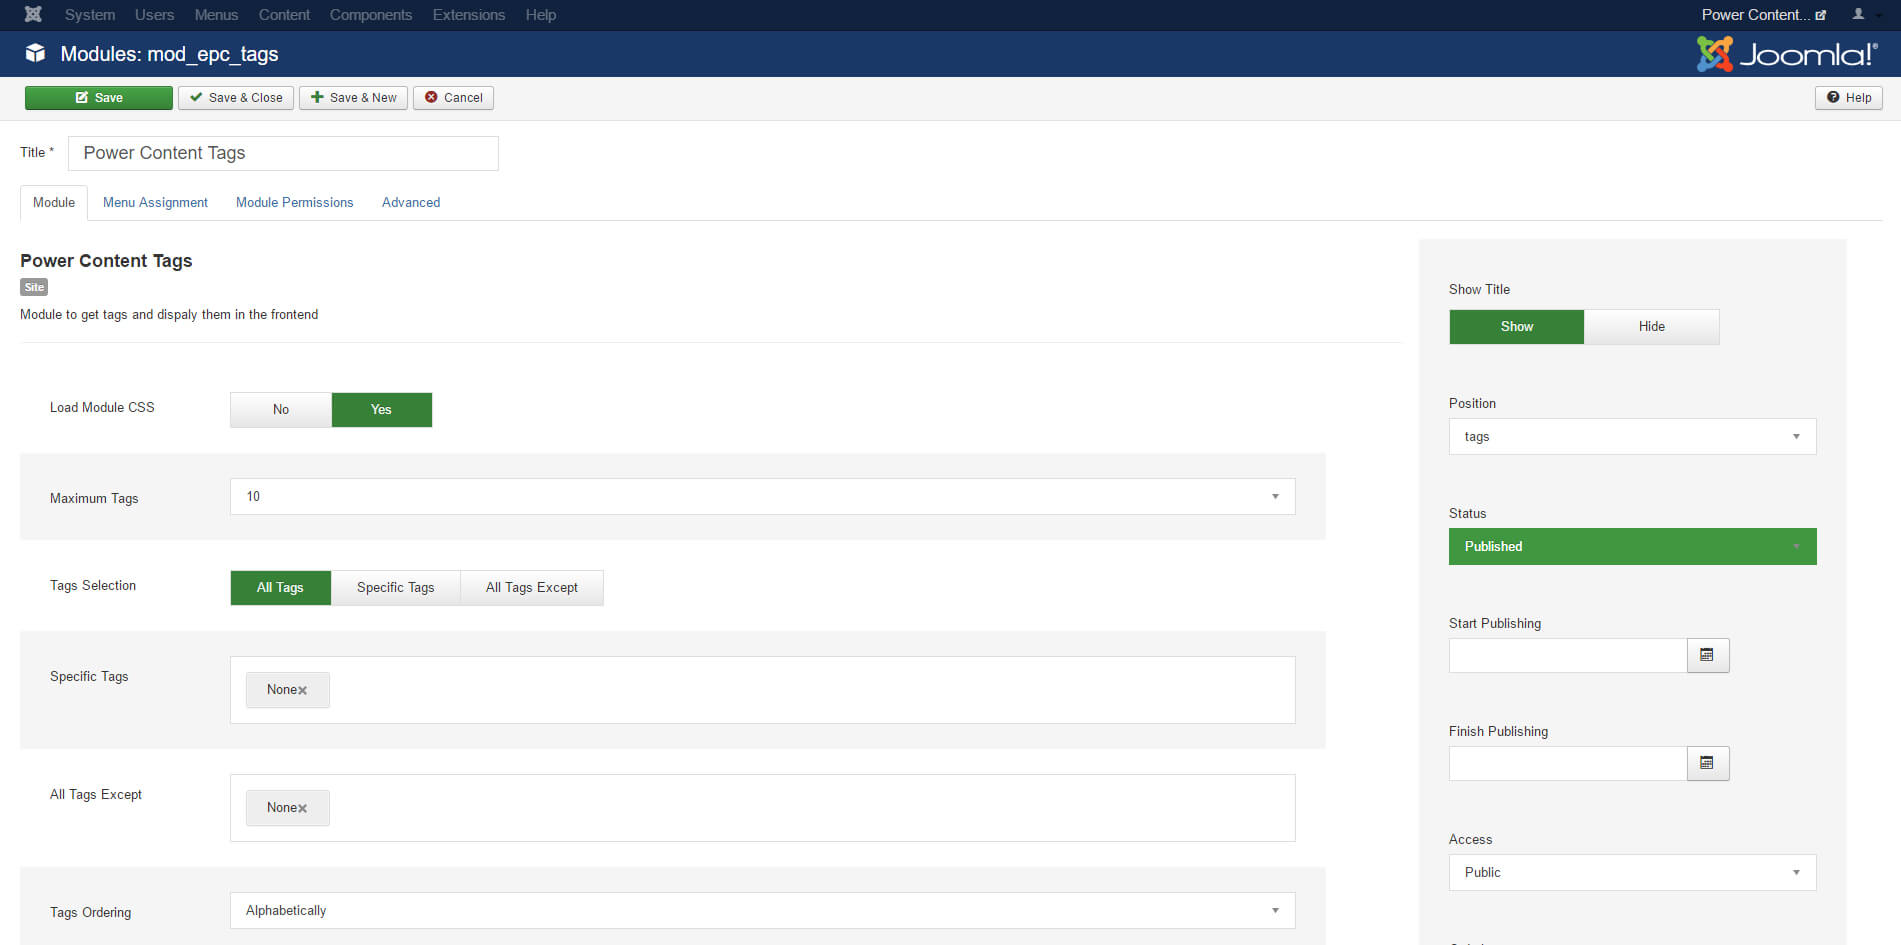
As you can see in the image, there are several options for you in the module:
Load CSS – The module’s CSS bring a little bit of order to the tags display. It doesn’t intend to design the tags, just to structure it.
Maximum Tags - The limitation of the tags to display
Tags Selection – This field allows you to filter the tags that you wish to display: “All Tags” will not provide any filter and will just display the tags according to the limit and order you have set. “Specific Tags” will allow you to choose specific tags, and “All Tags Except” will just bring all the tags except for the ones you choose.
Specific Tags and All Tags Except – Explained above, these fields are multi-select fields so you can choose as many options as you like.
Tags Ordering – This field allows you to choose the ordering of the tags: Alphabetically, ID, and Random Order.