Power Content Social Share Plugin
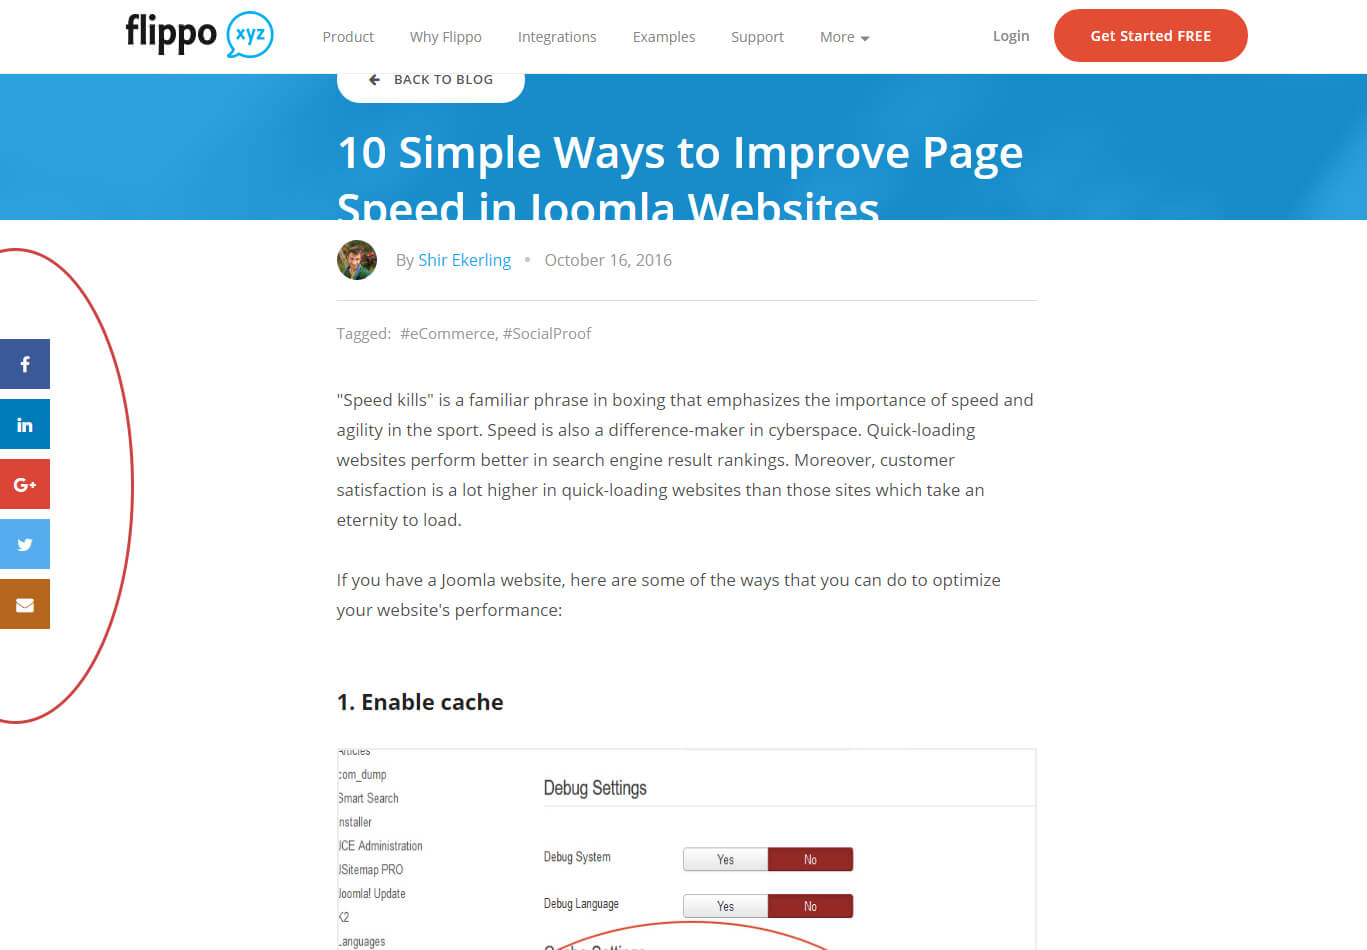
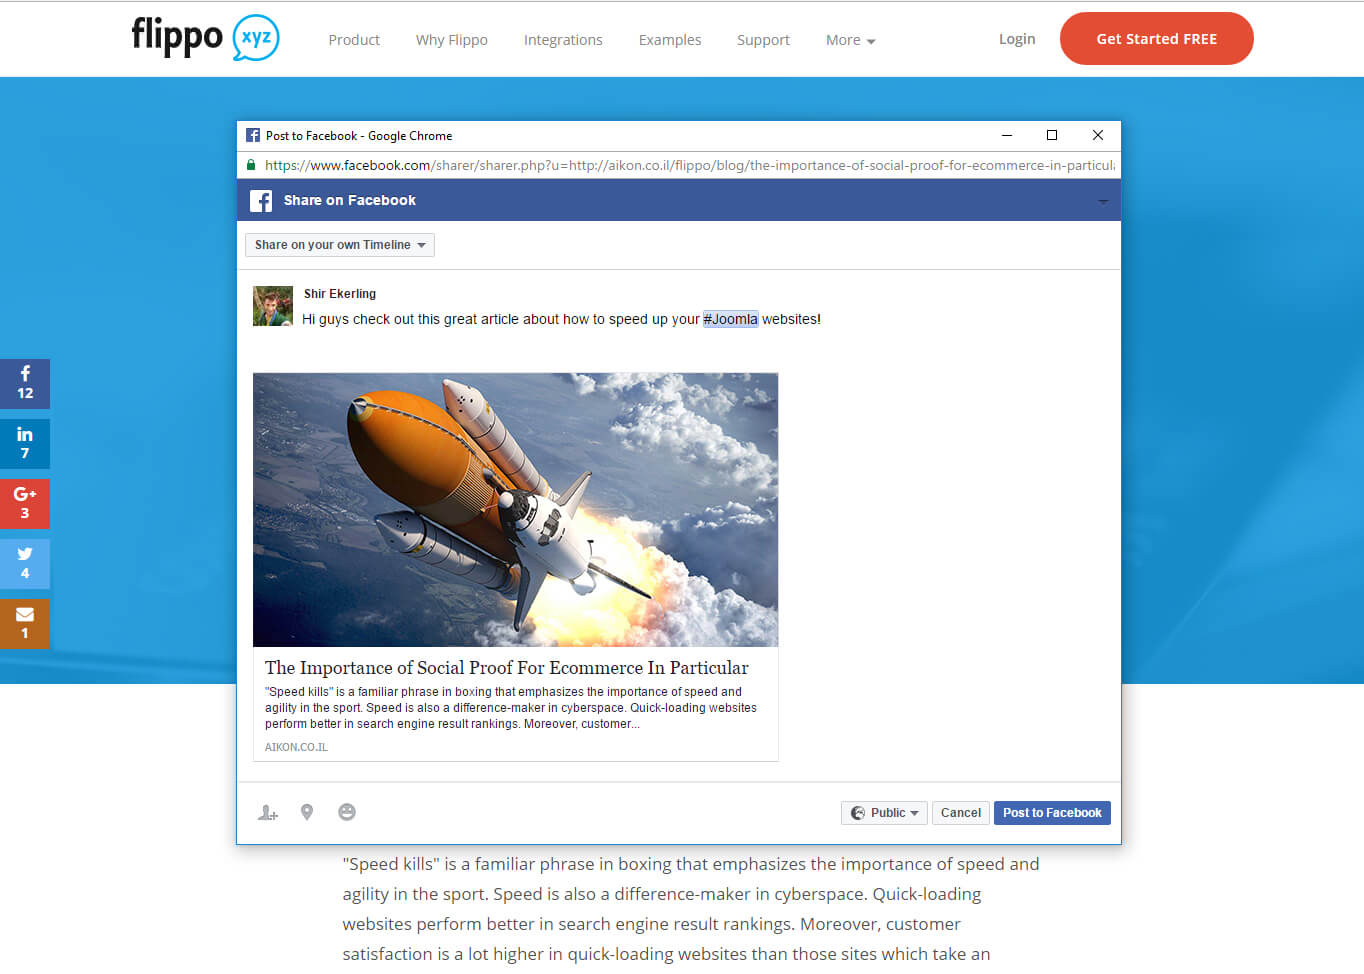
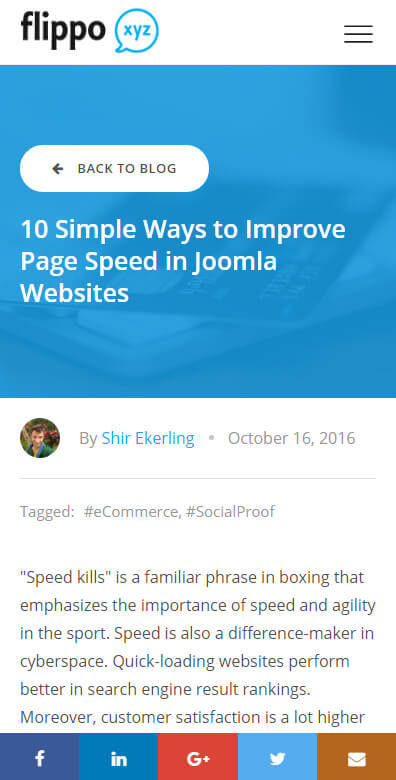
When installing Power Content, you are also installing several plugins and modules that come with the system. One of these is the “Power Content Social Share” plugin, which enables you to place share buttons on your webpages so users can share your website to social networks.
The following topics will be covered in this article:
- Plugins configuration
- Filtering items to display share buttons (By Items and By Categories)
- Setting the share buttons from the items themselves
Plugin Configuration
Navigate to ‘Power Content’ -> ‘Plugins’ -> ‘Power Content Social Sharing’ and click it. You will reach the plugin. You can also reach it from ‘Extensions’ -> ‘Plugins’ -> ‘Power Content Social Sharing’.
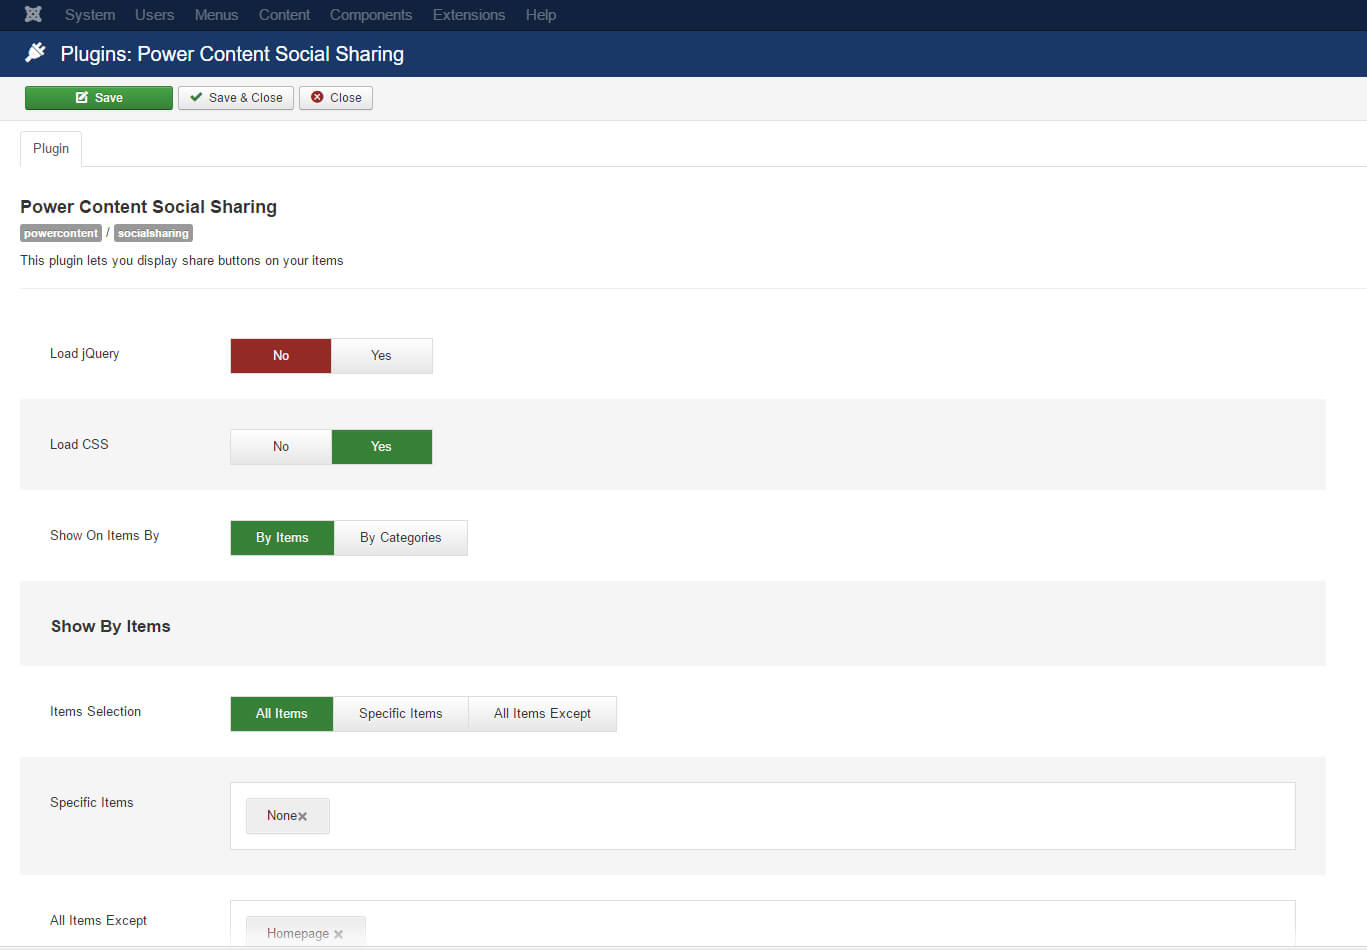
The first thing we will do, of course, is to publish to plugin. After that, we can dive into the configuration:
Load jQuery – jQuery is needed to open the share window. If your website already loads jQuery, turn it off.
Load CSS – Note that without CSS, the plugin won’t be shown properly. Its HTML will be on the page, but there will be no styling, so if you turn this OFF, make sure you write your own CSS.
Show on Items By – The sharing buttons will appear on your items. You can filter items that you don’t want to be shown. You can do so by filtering specific items or by filtering items by their categories.
Show By Items
Those options here will work only if you have selected “By Items” in the “Show on Items By” field. This section lets you place the Social Sharing Buttons on items, by items filtering.
Items Selection:
All Items: This will put the share buttons on all the items of your website.
Specific Items: Choosing this will put the share buttons on the items you choose in this field only.
All Items Except: This will put the share buttons on all the items of your website, except for the items you have selected in this field.
Show By Categories
Those options here will work only if you have selected “By Categories” in the “Show on Items By” field. This section lets you place the social sharing buttons on items, by their category.
By Category:
All Categories: Choosing this will put the share buttons on all the items of your website.
Specific Categories: This will put the share buttons on the items that are under the specific categories you choose in this field; for instance, you can put the share buttons only on items in your “blog” category.
All Categories Except: This will put the share buttons on all the items of your website, except for the items that are in one of the categories you have selected in this field. For example, you can put the share buttons on all the items from all the categories of your website, except for the “Blog” items.
Setting the share buttons from the items themselves
On top of that filtering, you can make another filter. For example, you can choose this if you have selected share buttons to appear on all the blog items, but there are some blog items that you don’t want the LinkedIn share button on, or if you don’t want the share buttons at all.
The last step in configuring the share buttons
Navigate to one of the items you have chosen that will have share buttons, and you will see that now you have tabs. One is “Settings”, which is all the regular settings of the item, and the second is “Social Sharing”, Click the social sharing tab.
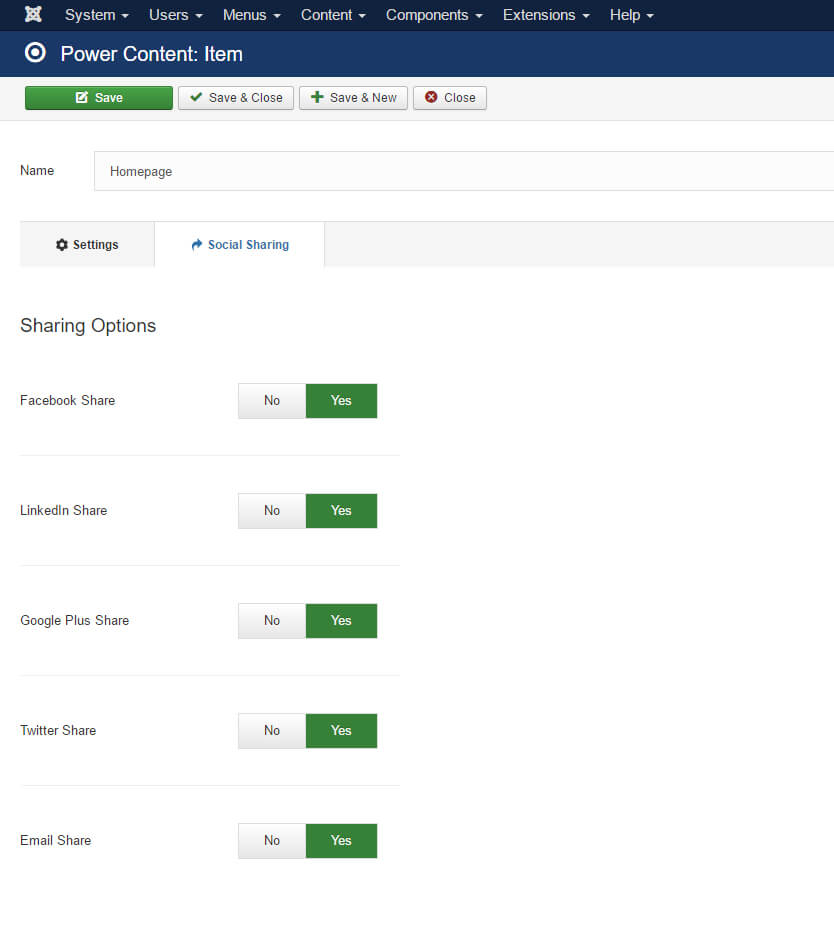
Here, you will simply turn OFF and ON the sharing buttons that you want and don’t want for this item. And then click save.
If you are using the default theme of Power Content, you should be able to see the buttons in your frontend now. If you have used the “Themes Engine” and created your own layout, and changed the code, please visit the “Plugins” part of this documentation to understand how to access this and any other plugin from your custom layout.